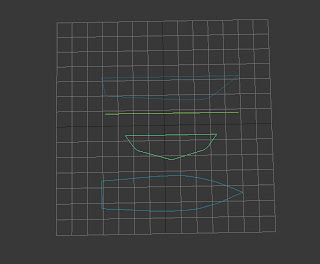
i then Switch to top view, and selected contour and from create panel, geometry and choose from the list Compound object. then i choosed the Looft command. From the Looft rollout i choosed to make an instance as a copy and choose get path, then the cursor will switch and in top viewport choose the line that represents the boats length. Loft object is made.
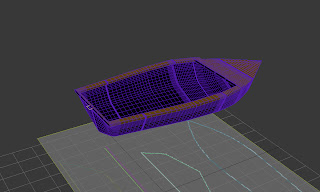
then i Switch to modifier panel with Looft boat selected and in Loft properties panel in Deformations group choose Fit. i then open a new dialog that shows you a 3d representation. Turn off Symetry then i turned on the Y axis and from toolbar and choosed get path button, and in top viewport i choosed line of the boat and then the boat is made.
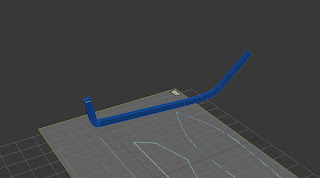
i then wanted to create the rib of the boat, i used the sweep commond, i drew a rectangle spline at the start and drew a parth with a spline then used the sweep commone.
then texture that i used for the wood of the boat.
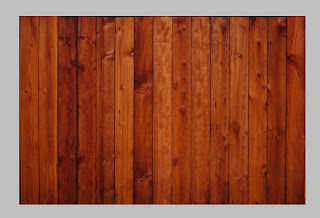
edditing the materals of the boad
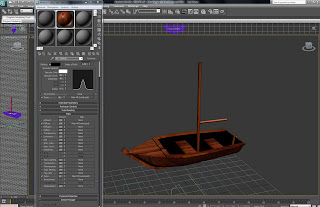
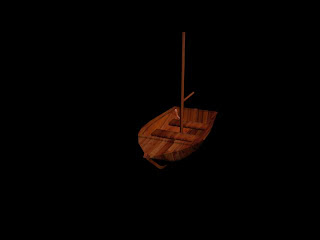
finished boat.
No comments:
Post a Comment