Thursday, 9 December 2010

biped created for pauls people

i created the biped to go in to pauls people that he created and then gave it to gemma to use for her scenes. i created the biped for the man and the women.

the biped for the man.


changing the envlopes on the biped.

getting the biped to walk creating the footsteps.

walton


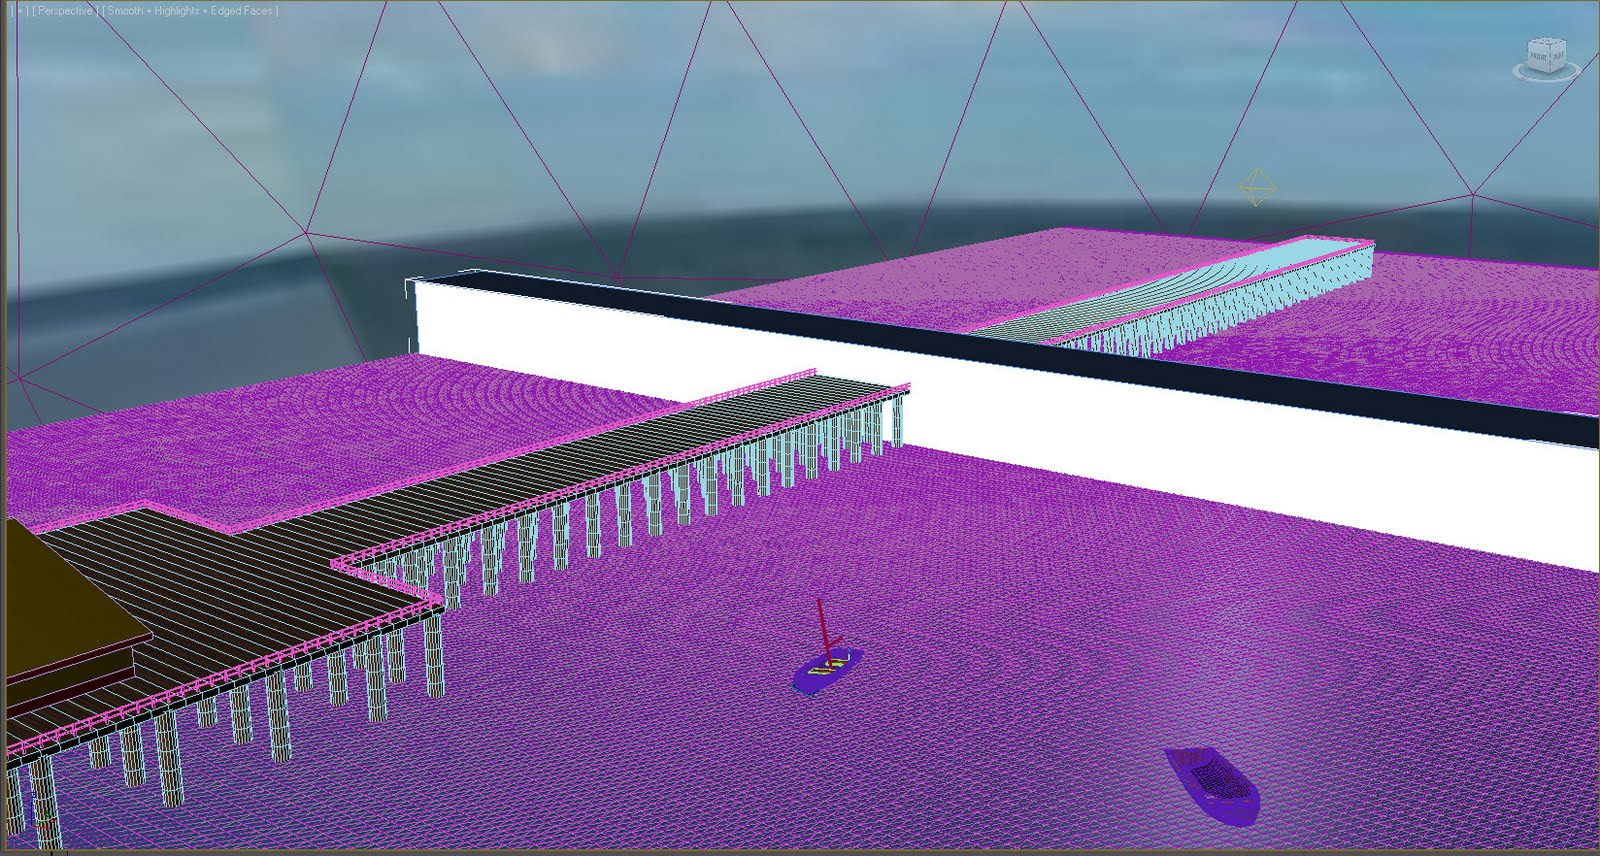
i created one railling and copyed ip up the pier. and the wood texture i edited it in photoshop so it would tile with no gapes.


i used pauls people that he created to fill the scene. the lighting that i used was a mr area omni and changed the settings to make it bright enough for the sunlight.


windbreker. i thought i would creat a windbreaker as you find these on the beach, i also used the cloth modifer on there so they moved in the wind,


i wanted to create the front of walton arcade so i gathed some images from google mapes and stiched them together in photoshop to create the front.

images used


final image for 3ds max.


sea waves
to do this i created the water in the same way as the walton but i changed the texture of the water as its a sea. to do this i went in to the material editor went to maps in reflection i choosed ray trace- set the environment settings to 70, in the bump map i added ocean lume and set the bump to 30, i then put the specular level up and the gloss level up, i then changed the coulour to a dark blue.

i then created a rectangle added a mass of the rectangle in the ridged body colection so it would drop into the water creating a ripple effect


start of the waves


the waves coming up on the sand, i did this by using soft selction on the sand lowering down the front polygones. which was created from a jpeg edited in eds max to creat a bump and a grain texture.


to get the boat to move in the water i created a few movements using the auto key making sure the first movement was the same as the last movement by copying the first key frame and putting it last. and then used the graph editor to to loup the movements


the waves were not as good in the final anamation as i had to cut the number of polygones in the see by 1000 as it was going to take 1064 hours to render , so the final anamation didnt look as good as it should of.


maldon

I wanted to create people in the mud for the mud race. so i found some images on the internet and edit it in photoshop and created a black and white outline for 3ds max.


making the water moving when the boat is moving. to do this i created a plain made it a water coulour and added a reflection materal. i then created 200 by 400 polygones and then added a subdived modifier to the plain.


i then created the water reactour


i then created a ridged body part and added the boat frame to it. i then created a a parth for the boat to follow.


i then attached the water to the plain by 'bind to space warp' key,


i changed the mass of the boat in the ridged body colection till i got the ripples just right


once i had the ripples right i would then hide this boat and move the real boat on alont the path by attaching it in the same way.


creating the sail on the boat. i created a rectangle.


i then applyed a garment modifer

i then used FFD 3x3x3 in the modifer list. this alowed me to create a sail shape. I then applyed a cloth cloth modifer to it and added a wind the same way i created the flags.


the finished scene with the wind and water reactour in place.


layer many tower


the image that i worked from


the window i created with a glass texture.


render of the glass windows reflecting and the grass that i created using hair and fur

the image i used for the background that i modified in photoshop


the uvw unwrap of the brickwork that i used for the building.


render of final scene.

deckchair


created the frames


i then created cylinders that i wanted to cut out of the frame and placed them half in the frame and used the boolean tool and then choosed the subtracted (A-B) and then selcted both parts and pressed ok.

i created a rectangle spline and assed a cloth modifer to it

i then grouped the vertexs that i wanted to wrap around the frame pole, then selcted node to part and selcted the frame pole.


i then did that for both end and clicked simulate local


i then applyed a wind force to the cloth making the cloth move


.

Wednesday, 8 December 2010

flags

I created a shop front where our idea would be created around, on this shop i created moving flags using the cloth modifier. first i created a rectangle spline

then once i had created that i moved it to the right place where i wanted it to go. i then added a garment modifier. once that was done i applied a cloth modifier


i then grouped the vertex's that would be attached to the flag pole. i did this named the group and then clicked applied to node and selected the pole.


i then applied cloth properties to the spline

i then added wind in to the scene


i added the wind as a force on the cloth modifer


i then changed the wind propites in the wind modifer.

and then i clicked simulate local to se if that what i wanted then i clicked sumlate and it created an amation